

SPACE10X-IS
Looking to track dangerous goods?
The Space10X-IS is the intrinsically safe option without compromise.

The Legalities
Copyright
All Rights Reserved.
This document contains proprietary information protected by copyright. No part of this manual may be reproduced by any mechanical, electronic, or other means in any form without prior written permission.
Disclaimer
The information in this document is subject to change without prior notice in order to improve the reliability, design and function. It does not represent a commitment on the part of the manufacturer. Under no circumstances will the manufacturer be liable for any direct, indirect, special, incidental, or consequential damages arising from the use or inability to use the product or documentation, even if advised of the possibility of such damages.

User Manual Contents
Congratulations on the purchase of your new zzoota Space10X-IS!
This User Manual is your guide for getting started with the key functions of your Space10X-IS.
For installation and technical details, please follow our Installation Guide.
Safety Instructions
Warranty Information
Space10X-IS Introduction
3.1. Space10X-IS Overview
3.2. SpecificationsGetting Started
4.1. Charging the Space10X-IS
4.2. Powering On and Off
4.3. SIM Card
4.4 LED StatusPing Frequency Overview
5.1. Mode Summary
Setting the Ping Frequency
6.1. Changing the Ping Frequency using zzootaLink
6.2. Mode Commands and Examples
Safety Instructions
Read all cautions and warnings on the equipment.
Place this equipment on a reliable surface when installing.
Dropping it or letting it fall may cause damage.
Make sure the correct voltage is connected to the equipment.
Keep this equipment away from humidity.
Disconnect this equipment from the A/C outlet before cleaning it.
Do not use liquid or sprayed detergent for cleaning.
Do not scratch or rub the screen with a hard object.
Never use any of the solvents, such as thinners, wax, benzene, abrasive cleaners, acid or alkaline solvents on the display. Harsh chemicals may cause damage.
Remove dirt with a lightly moistened cloth and a mild solvent detergent. Then wipe the enclosure with a soft dry cloth.
If the device will not be used for an extended period, disconnect it from the power source to avoid damage by transient over-voltage.
Never pour any liquid into openings. This may cause fire or electrical shock.
Do not use the device if:
a. The power cord or plug is damaged.
b. Liquid has penetrated into the equipment.
c. The equipment has been exposed to moisture.
d. The equipment does not work well, or you cannot get it to work according to the user’s manual.
e. The equipment has been dropped or damaged.
f. The equipment has obvious signs of breakage.
2. Warranty
Click here for zzoota’s warranty policy, or to make a claim.
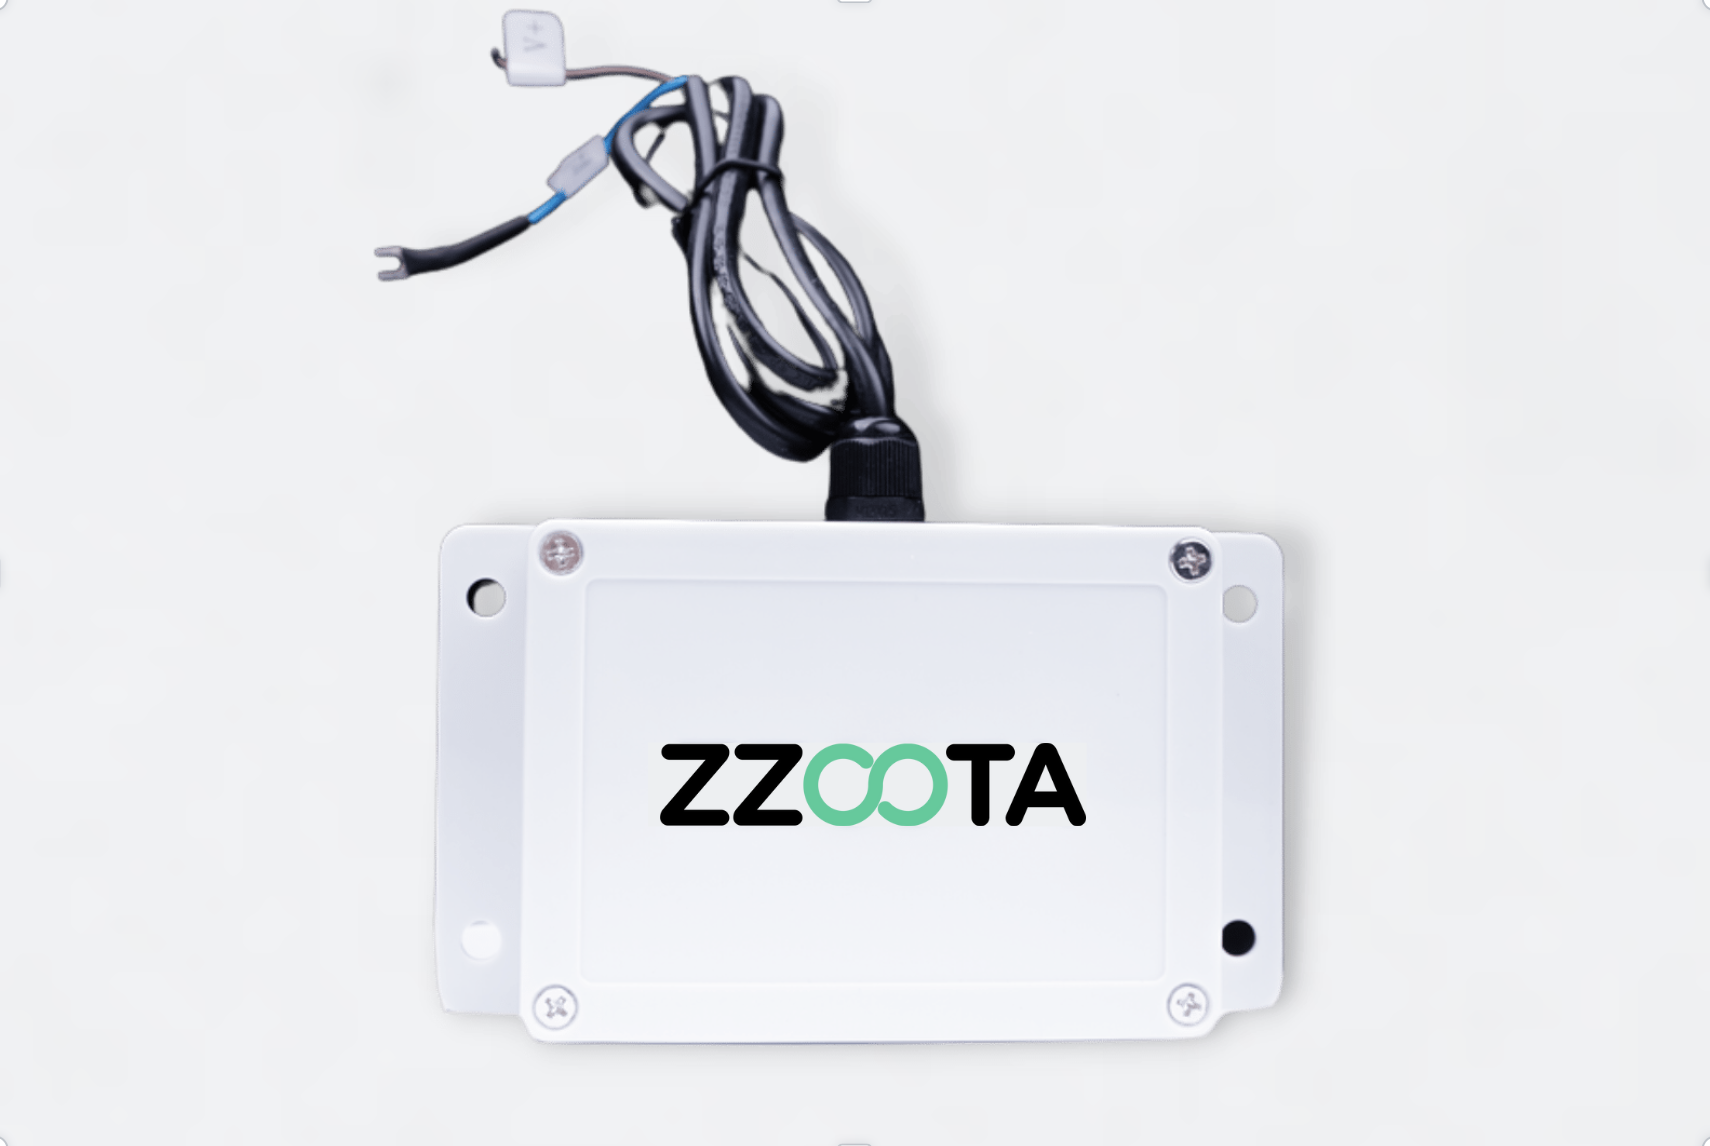
3. Space10X-IS Introduction
3.1 Space10X Overview
3.2 Specifications
Physical
Dimensions
150 x 85 x 36mm
Weight
300g
Material
PC + ABS
Dust and Water Resistance Rating
IP65
Fire Resistance Rating
UL 94 V-0 (high flame-retardant)
Communication
Communication Module
Quectel BG96 (LTE Cat M1 / Cat NB1)
GSM Antenna Type
Internal
GPS
GPS Module
u-blox UBX-M8030
56-channel
Accuracy
5m
Antenna
25x25x2mm patch antenna
Software Memory
1000 points (location)
Interface and Sensors
Micro USB
Diagnostics
Light Sensor
Tamper Alert
LED Indicator
Red (1): Network
Blue (2): GPS
Green (3): Server
See LED Status
Power
Battery
5000mAh rechargeable
Battery Life
Dependent on preferred ping frequency when unpowered
Charging Requirements
5V / 1000mA
Working Voltage
3.4-4.2V
Working Current
60mA
Sleep Current
<5µA
Environment Requirements
Operating Temperature
-20°C to 70°C
Storage Temperature
-40°C to 85°C
Humidity
10% to 90%
4. Getting started
4.1 Charging the Space10X-IS
Fully charge the Space10X-IS before use, using the supplied micro-USB cable and a 5V/2A adaptor. The Space10X-IS takes approximately 5 hours for a full battery, and you can check the status of the battery by checking the LED indicator:
Red means the device is charging.
Green means the device is fully charged.
4.2 Powering On and Off
The Space10X-IS will automatically power on when the SIM card is inserted and power off when the SIM card is removed.
4.3 SIM Card
When you receive your Space10X-IS, it will come with a SIM card preinstalled for your convenience, unless otherwise discussed with zzoota.
If you need to change the SIM card for any reason, follow the below steps:
Unscrew the SIM card cover with the provided screwdriver
Remove current SIM card – note the orientation of the card
Insert new SIM card, using the same orientation as the previous card
If the device is charged, it will now power on
Close the SIM card cover and screw the cover in place.
Note: If the supplied SIM card is removed and inserted into another device, it will deactivate. Reactivating the SIM card will require the completion of a Support Ticket, and may incur a fee.
4.4 LED Status
Light 1:
Red light when charging means battery less than 100%
Light 2:
Blue light slow periodic blinking means GPS communication network not activated
Blue light fast blinking means GPS communication network is connecting
Blue permanent light means GPS communication network is connected and operational
Light 3:
Green light means battery fully charged to 100%
5. Ping Frequency Overview
Your Space10X-IS has a battery of 2000 pings when unpowered before it needs recharging, so zzoota has a multitude of options when it comes to how often you want your device to ping. If battery is your highest priority, opt for a low ping rate with Mode 1 or Mode 1D. If your focus is on frequent, highly accurate in motion tracking, Mode 21 lets you see where your asset is when it’s moving and check in on it when it’s not.
5.1 Mode Summary
Mode 1
The device will ping at set times (select 1 to 5 specific times) per day, regardless of motion.
Mode 1D
The device will ping at set times (select 1 to 5 specific times) every set number of days, regardless of motion.
Mode 2
The device will ping every set number of seconds (select between 10 and 999 seconds) when in motion. If the device is not in motion, it will not ping.
Mode 3
The device will ping every set number of minutes (select between 5 and 1440 minutes) when in motion. If the device is not in motion, it will not ping.
Mode 21
The device will ping every 10 seconds when in motion, and at a set time every day regardless of motion.
6. Setting Ping Frequency
6.1 Changing the Ping Frequency using zzootaLink
Find it in the objects panel
Select the three dot overflow menu to the right of the device name
Select “Send Command”Select “GPRS” tab
Make sure the name of your device is selected
Set “Type” to “Custom Command”
In the “Message” box, type your command using the below guide
Select “Send”
Check the right hand column of the device’s data log in “History” to see if the device received and accepted the command
NOTE: The device will not receive the command if it is not online. You can schedule a command to be sent in the “Schedule” tab of the “Send Command” window.
6.2 Mode Commands and Examples
IMPORTANT
All devices and Modes are set to UTC standard time.
When inputting the set ping time into the Mode Command, ensure to calculate the difference for your time zone.
Find your time zone under the Setup tab.
MODE 1
Device pings at fixed time/s per day or per set number of days.

MODE 1D
Device pings at fixed time/s per set number of days

MODE 2
Device pings at the set interval only when in motion

MODE 3
Device pings at the set interval

MODE 21
Device pings every 10 seconds when in motion, and at fixed time every day.

FAQ
-
Find our installation guide here.
-
In order to view the lights on the Space10X-IS, the protective case of the device must be removed.
Before doing this, ensure the device has been safely disconnected from power, and is away from dangerous goods.
Light 1:
Red light when charging means battery less than 100%
Light 2:
Blue light slow blinking means GPS communication network not activated
Blue light fast blinking means GPS communication network is connecting
Blue permanent light means GPS communication network is connected and operational
Light 3:
Green light means battery fully charged to 100%
When finished, ensure that the rubber seal surrounding the enclosure is fully seated before screwing the protective case back in place.
Failure to do this may result in the device being unsafe to operate. -
Check to see if the device has been added to your account. You can do this by reading the IMEI (Serial Number) on the back if your device, and checking it against the object window in Link. If it does not appear, the Manager of your account can add it to the platform following this guide .
If the device appears in the object window of Link., make sure it is ticked.
Ensure “objects” are toggled ON in the map view options on the right side of the screen.
-
Check to see if the blue light is on. If it is not, ensure the device is in a full coverage area until it is online and finds GPS position.
Ensure the SIM card has not been removed.
If the SIM card has been removed and placed into another device, it will deactivate as a security feature. Record the number on the SIM card, and submit a Support Ticket to reactivate. Costs may apply.
-
In order to perform a manual reboot of a Space10X-IS, the protective case of the device must be removed.
To do this, ensure the device has been safely disconnected from power, and is away from dangerous goods.1. Disconnect the Space10X-IS from any power
2. Unscrew the SIM card cover with the provided screwdriver
3. Remove the SIM card – note the orientation of the card
4. Reinsert the SIM card, ensuring it is orientated correctly
5. If the device is charged, it will now power on
6. Close the SIM card cover and screw the cover in placeWhen finished, ensure that the rubber seal surrounding the enclosure is fully seated before screwing the protective case back in place.
Failure to do this may result in the device being unsafe to operate.